Hiroshima is a place of immense historical value. Although the history associated with it is fairly recent, its nature is of a unique kind. A visit to Hiroshima is humbling for most people, a testament to the horrors of war in it’s most destructive form, and the resilience of the Japanese people to recover from such unthinkable destruction. It’s definitely a must-see for World War II history buffs, but even if you’re a casual tourist visiting Japan, I would highly recommend a visit for one or two days. Specially a two day trip as that would allow you to visit the neighboring island of Miyajima – often described as one of the most beautiful places in Japan.
I made this two day tour of Hiroshima and Miyajima from Tokyo in October 2009 during my short tour of Japan. Although a one day tour of Hiroshima alone is possible, you will be on a very tight schedule, so I won’t recommend it.
As my tour of Japan was based in Tokyo, I planned on starting early from Tokyo, taking the Shinkansen (bullet train) all the way to Hiroshima, reaching there around noon and sightseeing till evening before checking in to my hostel in Miyajimaguchi in the suburbs of Hiroshima. Miyajimaguchi being just a short ferry ride away from the island of Miyajima would leave me pretty much the whole of day 2 to tour Miyajima before heading back to Tokyo.
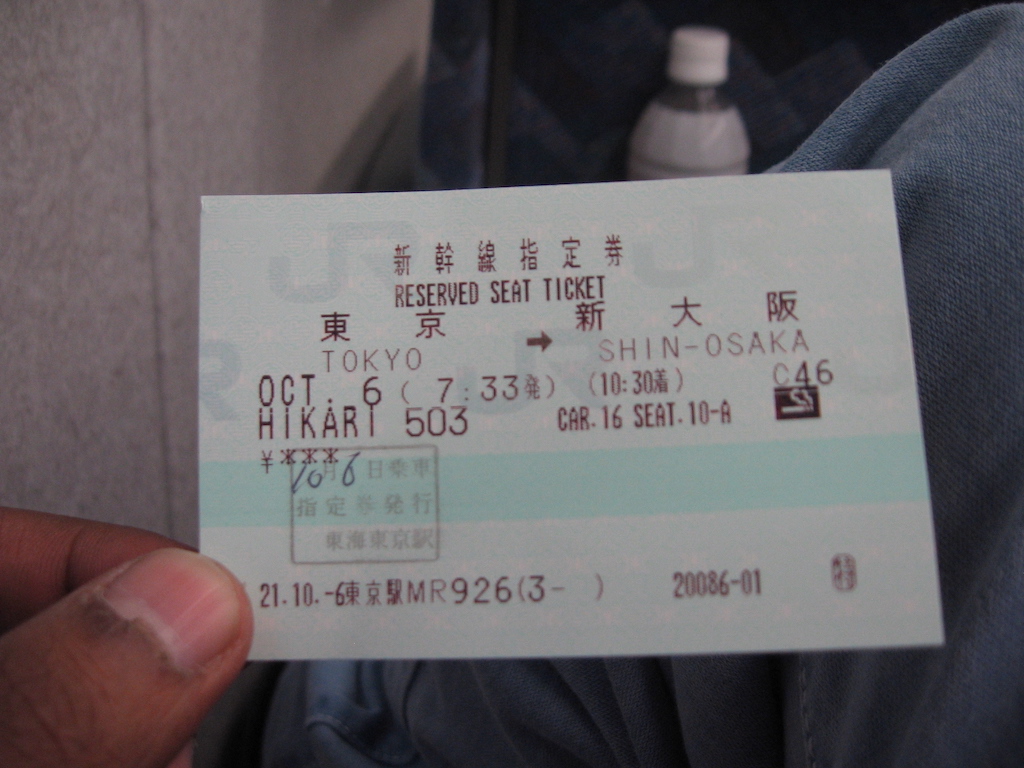
As you would have it, after a long day of traveling in Tokyo, which included a lot of walking around, and some late evening beers, waking up early isn’t the easiest thing in the world! Still I managed to leave my hotel in Ueno around 7 AM and after a short commuter train ride, reached Tokyo station in time to get tickets for the 7:33 AM Shinkansen Hikari service to Hiroshima with a change of trains at Osaka. I used my JR Pass to pay for my Shinkansen tickets and I recovered the cost of the pass and then saved some from this round trip alone! I would therefore highly recommend getting the JR Pass if you plan on using the Shinkansen a few times during your stay – it offers great savings! More on the JR Pass in another article.
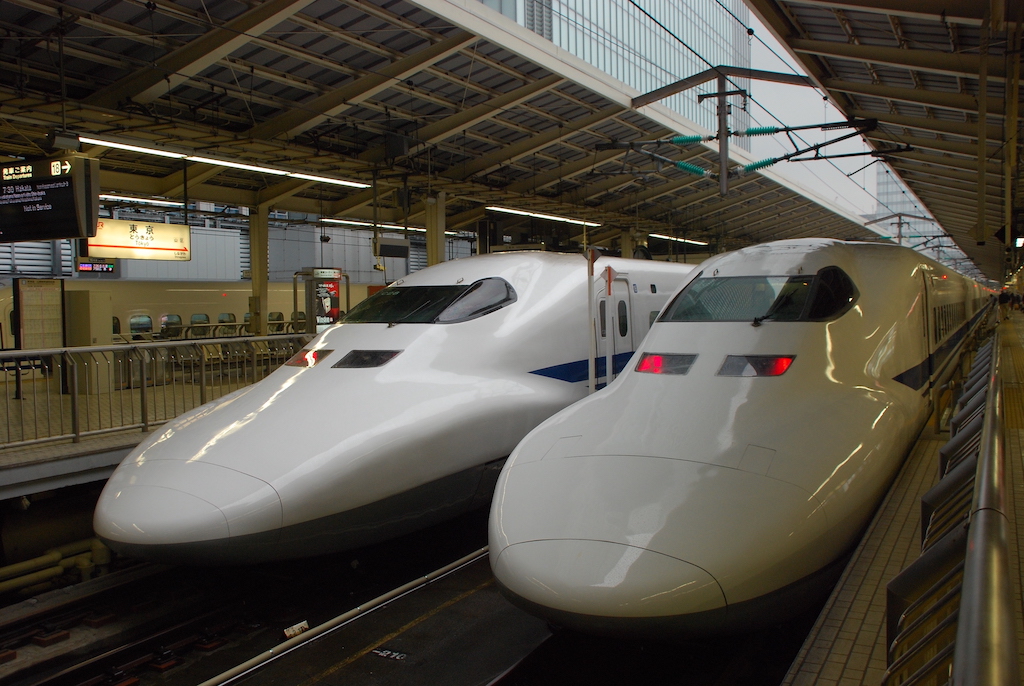
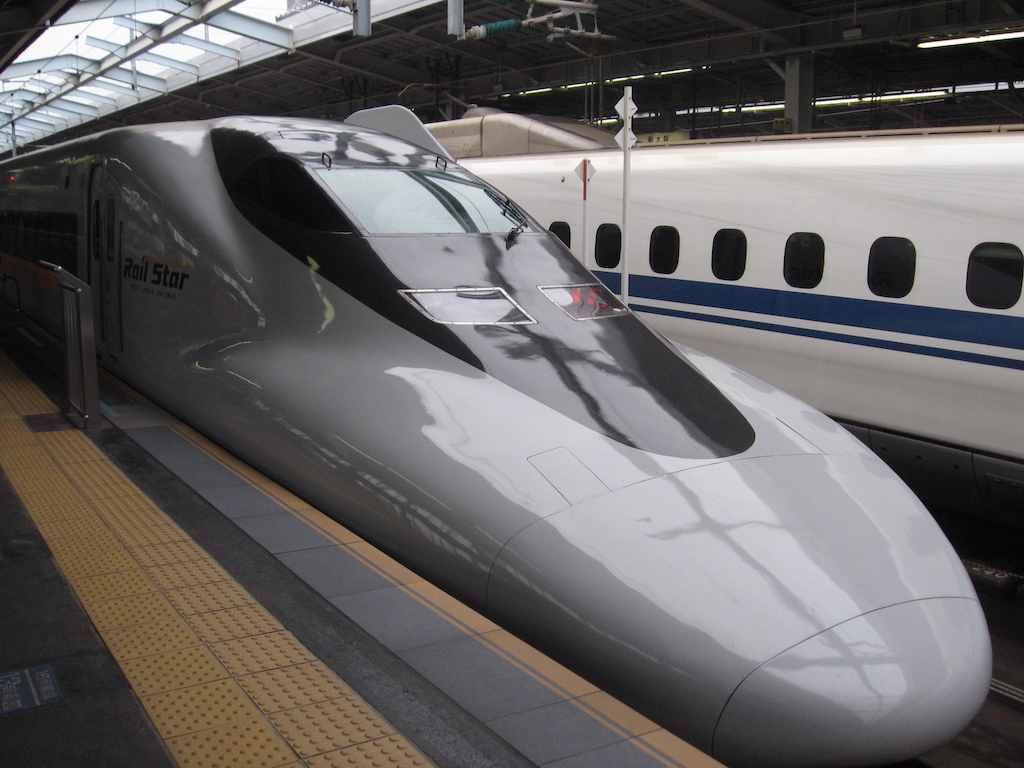
The Shinkansen system of Japan, or bullet trains as they are popularly known are definitely worth a try. To really experience them, you should avoid taking just a short trip to a neighboring town like Yokohama and take a slightly longer journey which lets you experience the extended high speed runs between cities. And although you may not get a true sensation of the speed from sitting in the train, you will know how fast you’ve traveled when you find yourself hundreds of kilometers away in just a couple of hours! Doing the Tokyo-Hiroshima-Tokyo journey more than fulfills your quota of Shinkansen experience. The JR Pass only lets you use the slower Hikari and Kodama services (slower as in more stops) and require you to change trains at Osaka, so if you’re not using the pass, I would recommend going with the Nozomi service which goes all the way to Hiroshima and is faster (less stops). The Hikari trains are faster than the Kodama ones. so get a Hikari if you can, but don’t bother waiting too long for one.
Finding the track or platform for your train in a Japanese station is quite straightforward. Shinkansen trains use dedicated tracks/platforms and these are separated from the other tracks in a station. Once you’re in the Shinkansen section, find out from one of the electronic display boards which track/platform your train will be departing from and then just follow the signs to there. Note that Shinkansen trains are extremely punctual. Once the train’s door closes, there is no way you can get in, even if you were standing right in front of it when it closed. I have seen this happen, so trust me! It’s also a good idea to make sure your watch (or cellphone, whatever you use) is accurate to within a minute. This really helps when you’re asked to decide at the reservation counter if you want a ticket on the the train that departs in 10 minutes. Making the right decision there can help you save considerable time.
If you take the Hikari or Kodama trains, you will have to change trains at Osaka. The second train will probably not depart from the same track where you got off, so you will have to get down to the lobby area and get to another track. Same procedure as before. When you buy tickets in Tokyo, you will actually be given two tickets for the two legs of the journey.
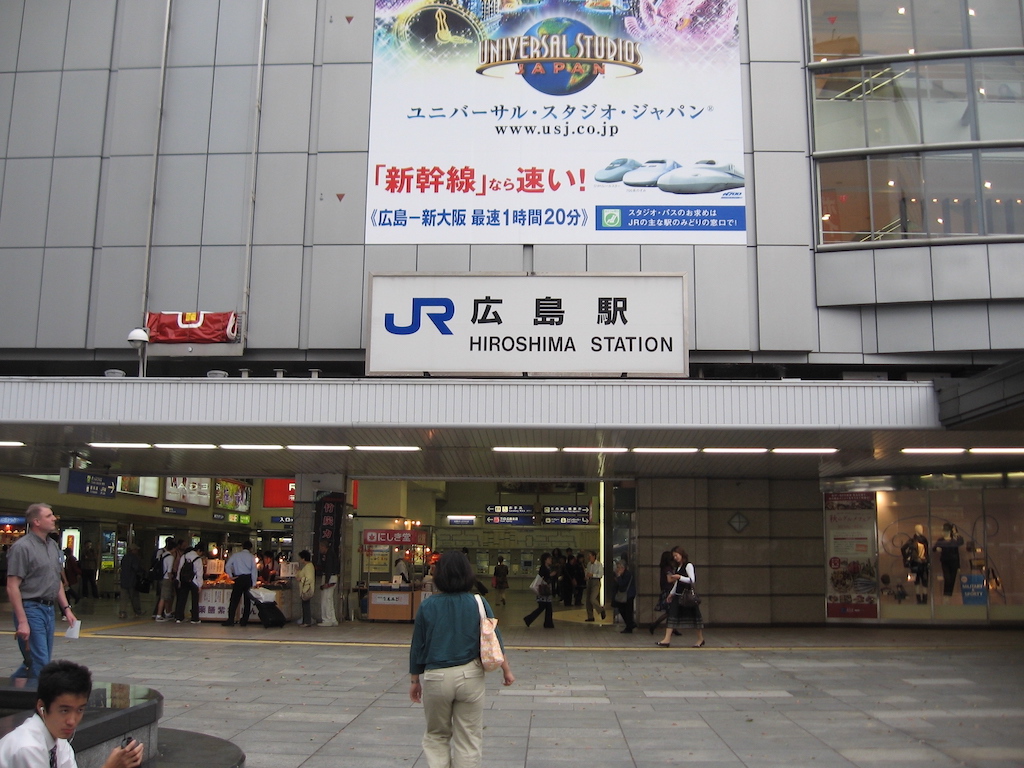
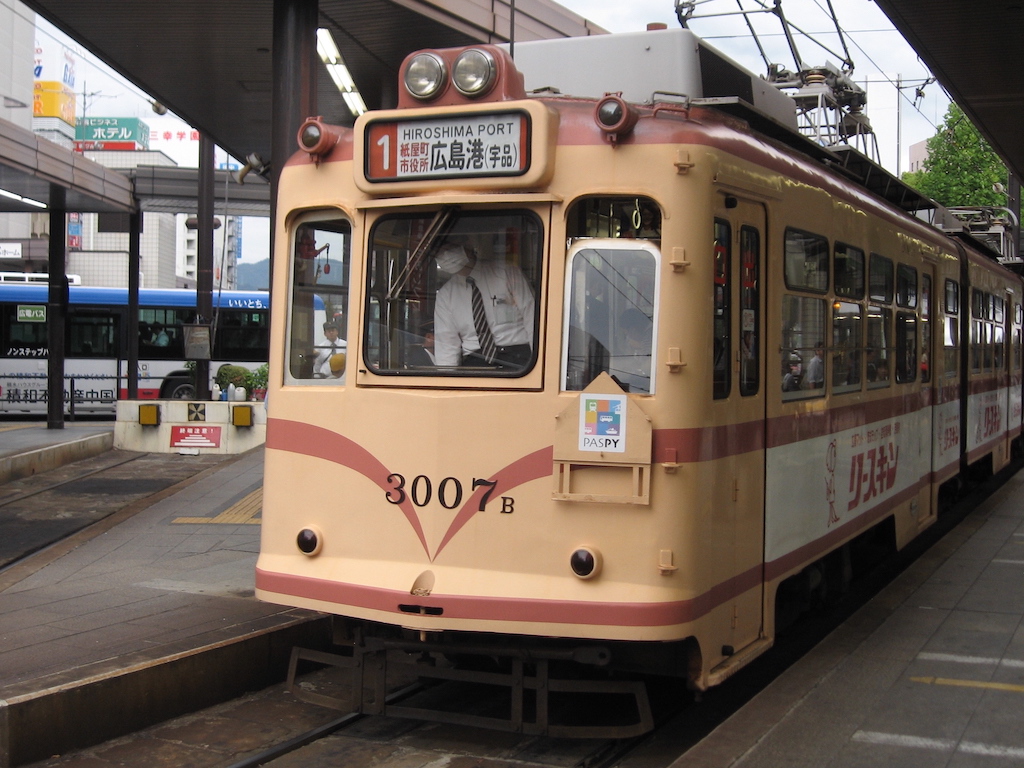
Once you reach Hiroshima, make sure you exit the station on the south side. You will find the streetcar (tram) terminal just outside. You can take one of these 3 streetcar lines to the Peace Memorial Park.
#1 “Hiroshima Station – Hiroshima Port Route”
#2 “Hiroshima Station – Hiroden-miyajima-guchi Route”
#6 “Hiroshima Station – Eba Route”
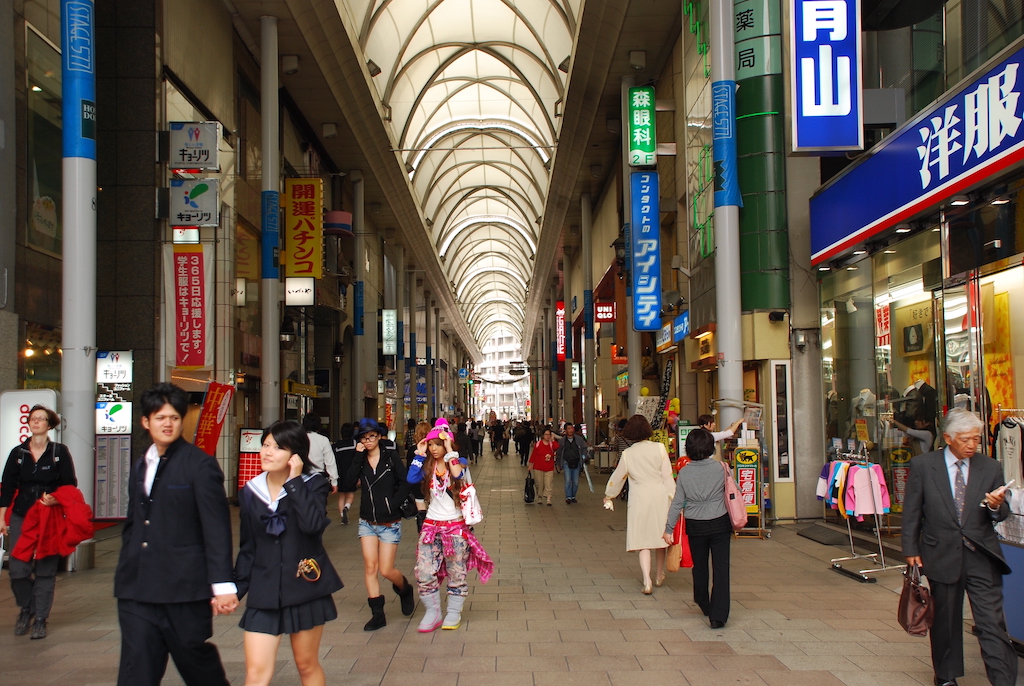
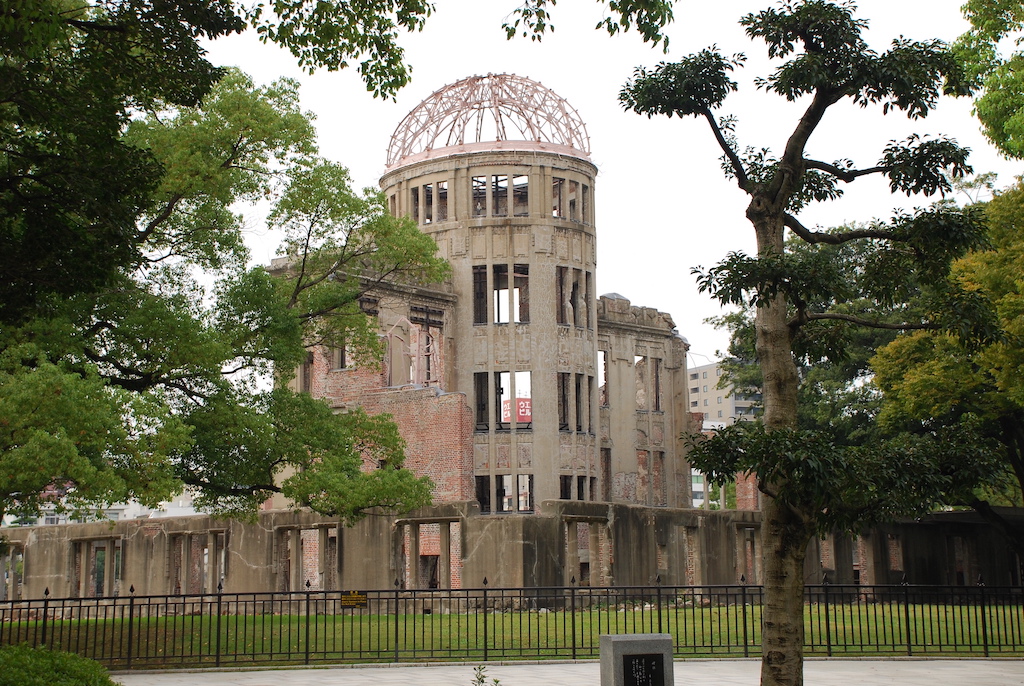
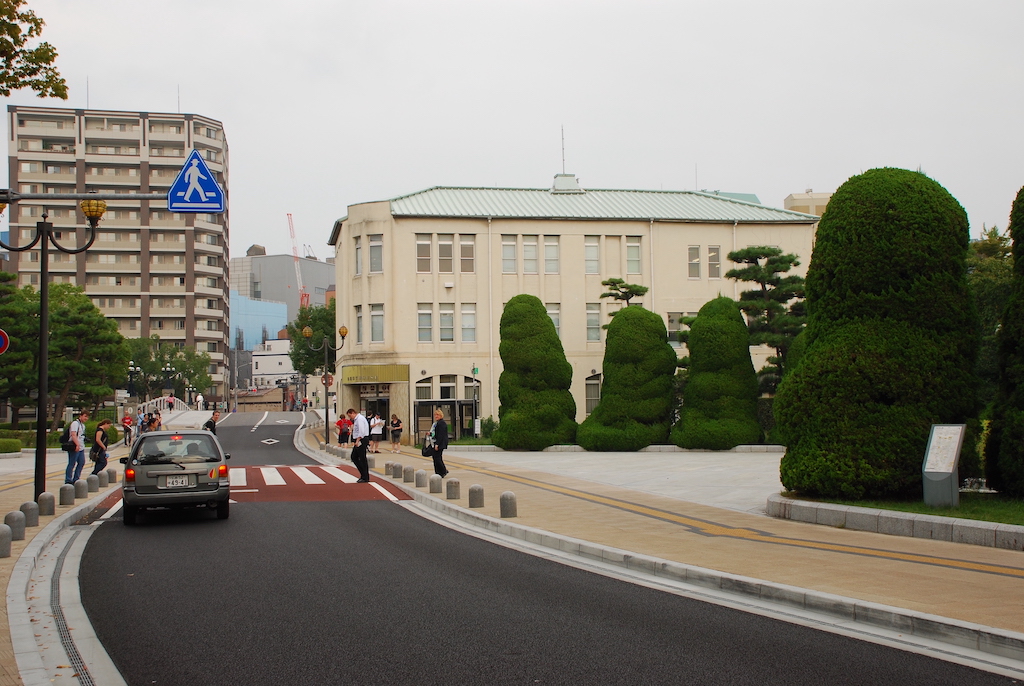
For #1 and #6, get off at Genbaku Dome-mae station (10th stop from Hiroshima station). For #2, get off at Hondori station (9th stop from Hiroshima station). We are now pretty much at Hiroshima’s prime attraction. If you get off at Genbaku Dome-mae station, you should be able to see the unmistakable structure of the A-Bomb dome to your left. If you get off at Hondori, it may look like you got off at the wrong place. But fear not! The A-Bomb dome and the Peace Memorial Park are less than half a kilometer to the west. Look out for the Hondori shopping arcade, a nice covered shopping street that goes perpendicularly on either side of the main road where the streetcar dropped you off. Just take the one to the west. For directional reference, the streetcar was heading south when you got off. The shopping street will take you straight to the Peace Memorial Park.
The narrow street and all the buildings around you suddenly open up, and you find yourself before a bridge that you have to cross to reach the central area of the park. But don’t get tunnel-visioned in all the excitement! Take a glance to your right and there’s the A-Bomb dome! I almost missed it.
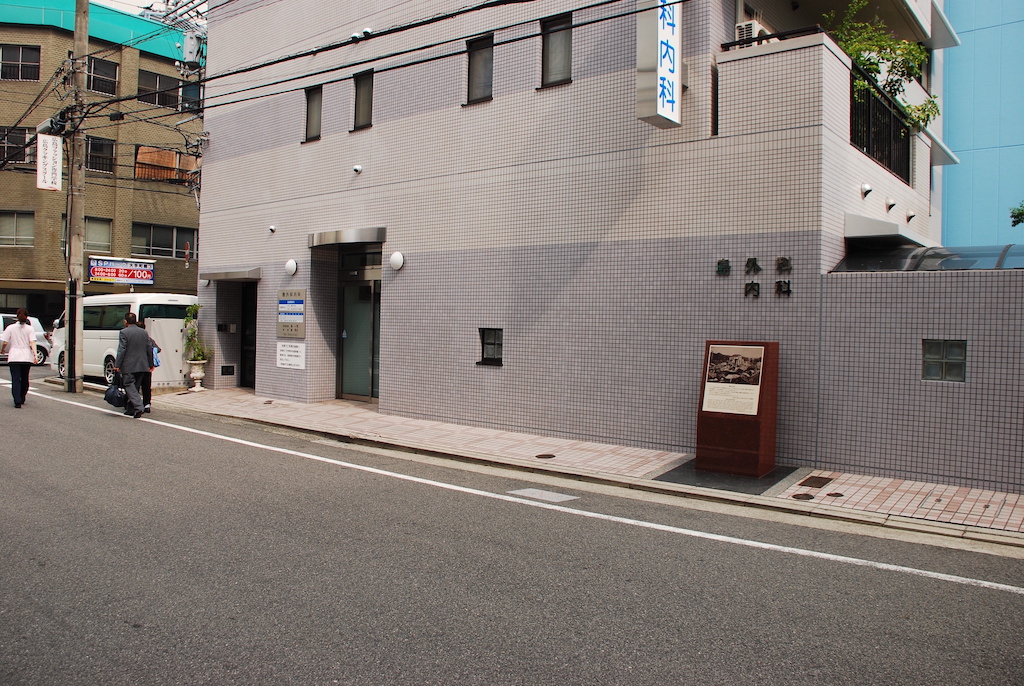
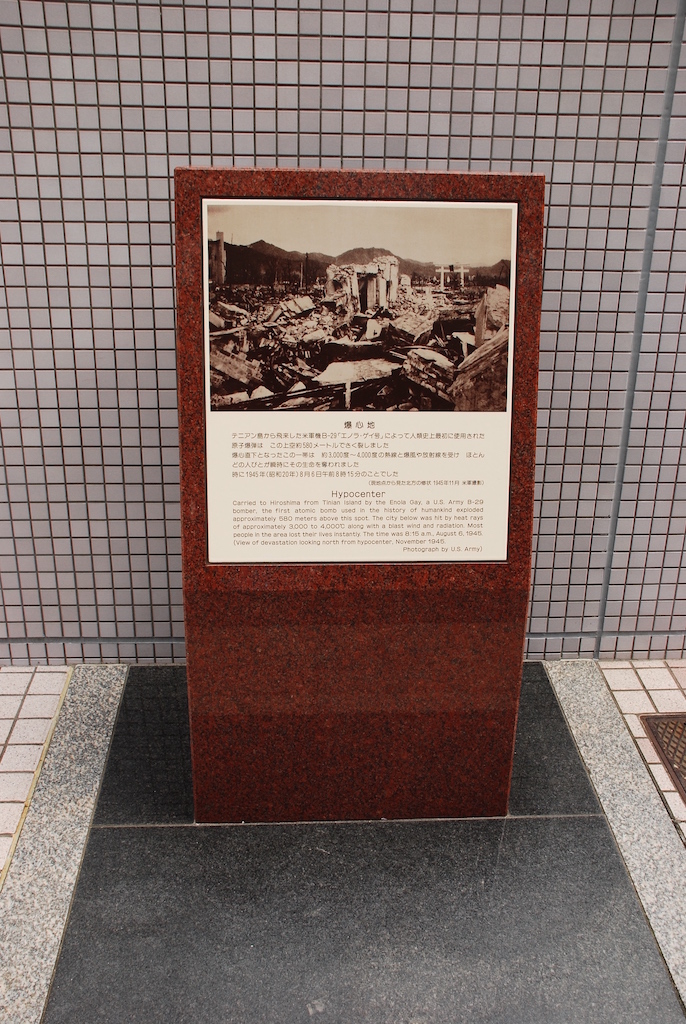
If you came from the Hondori shopping arcade, there’s another street branching off to the right just before you reach the park. It is on this street that you have the bomb hypocenter, that is, the exact spot above which the bomb exploded (580 meters above). There isn’t much to see there and the spot can easily be missed if not for a concrete plaque marking it.
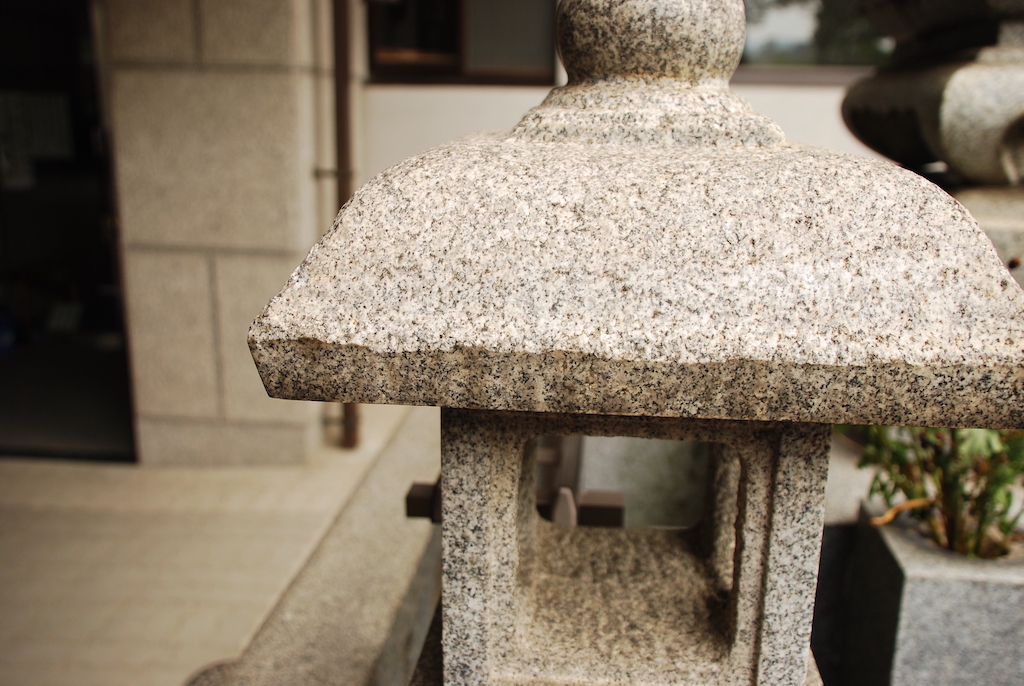
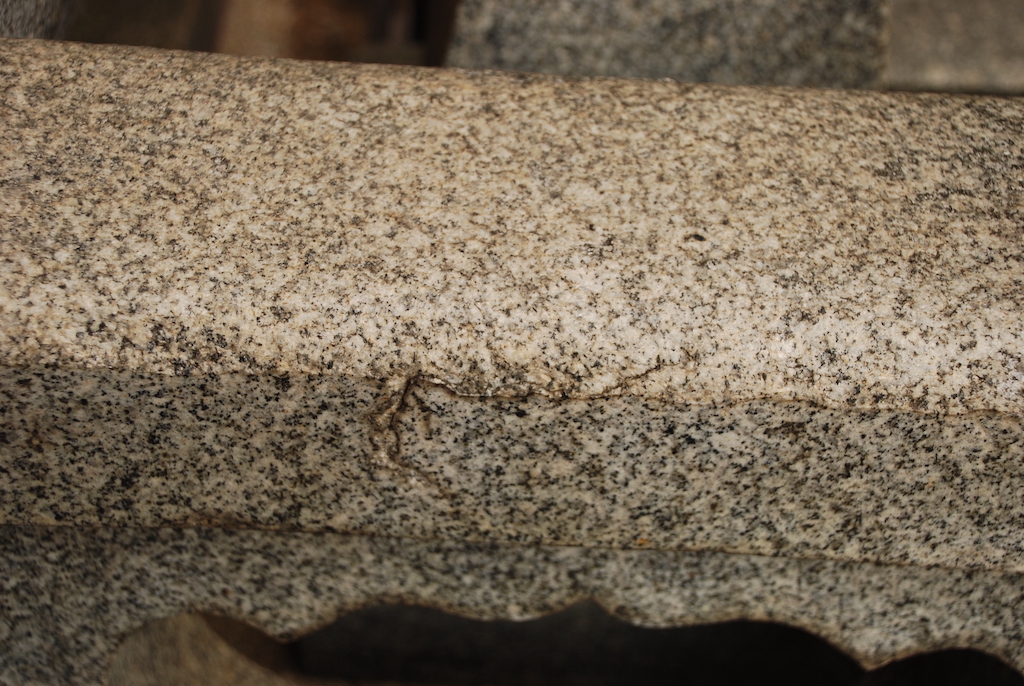
The Peace Memorial Park is spread out over a large area, with the museum on the southern end and the A-Bomb dome on the northern. Just across the street from the dome (in the direction of the hypocenter) you will see a small Japanese cemetery. This place has some interesting relics from the bombing. I wouldn’t have known if not for a very friendly guide who approached me and offered to show me around for free. Apparently she was employed by the park, but I was really pleased to meet her and very thankful for showing me some of the things that I would have otherwise missed. I’m sure most tourists do! So what you have in that cemetery are some old gravestones from before the bombing that were standing there when the bomb exploded. They were polished granite like some of the newer stones you can see. On closer examination you will see that some sides of those stones are still polished and very smooth to the touch, while the other sides feel rough and grainy. These are the sides that were facing the extreme heat of the blast wave, about 3000 degrees Celsius. You would have to use a blowtorch for several minutes to get that effect on polished granite. The other sides remained unaffected. It’s quite an experience to touch these stones and imagine the immense power of the bomb that could do such damage to a surface of granite in a matter of seconds!
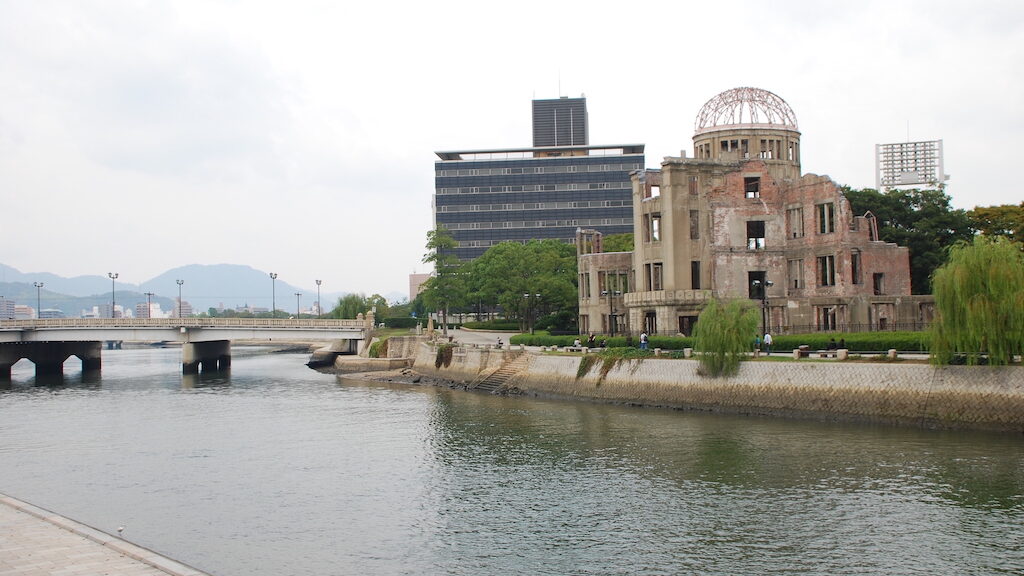
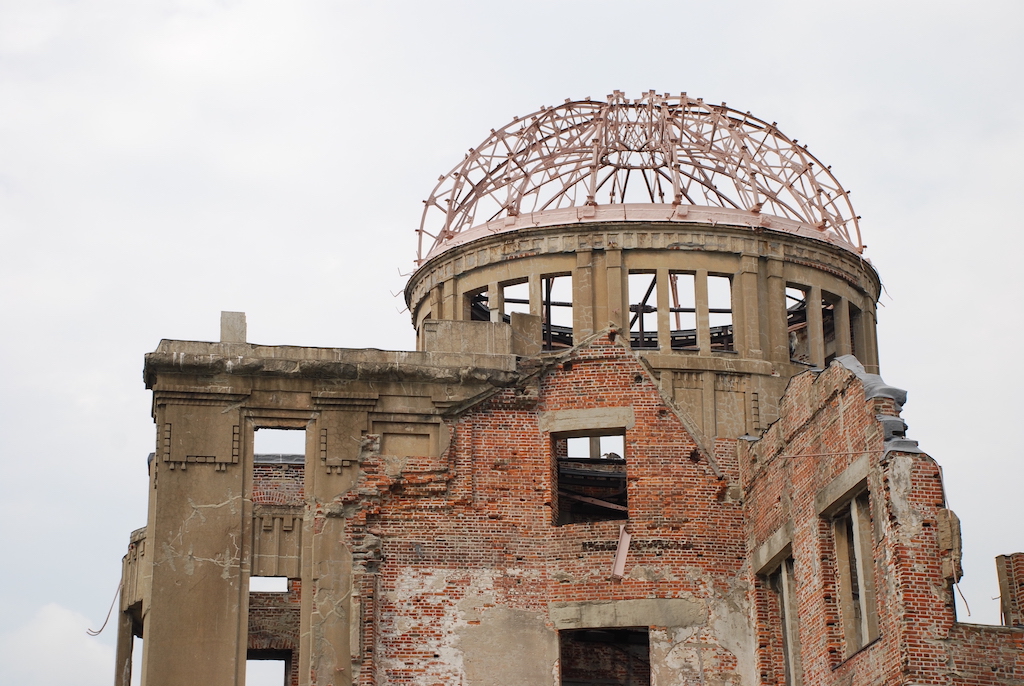
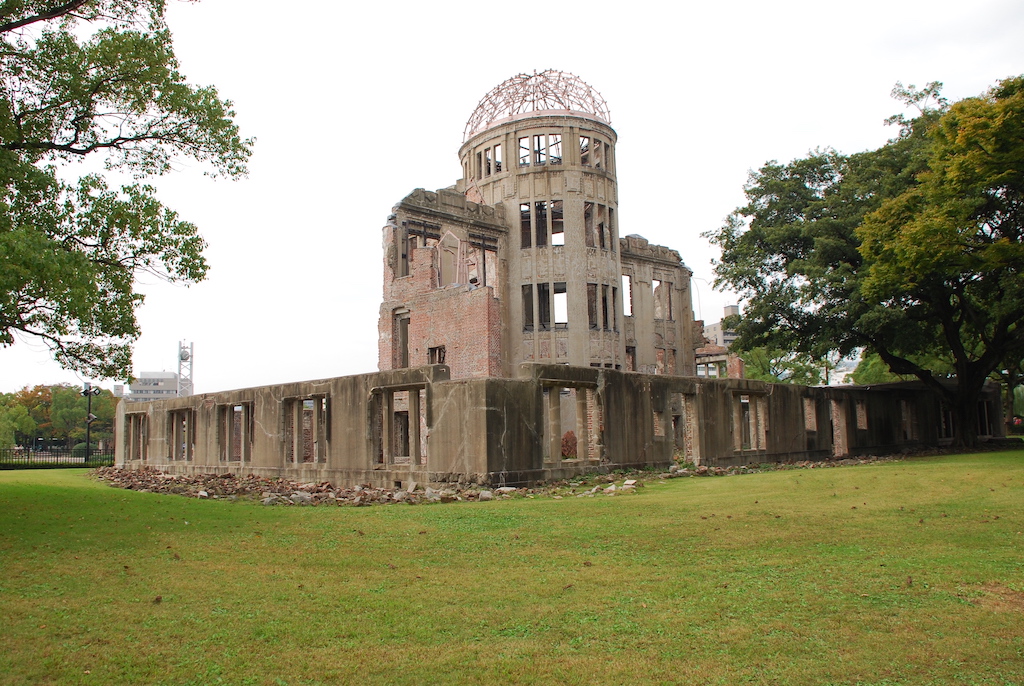
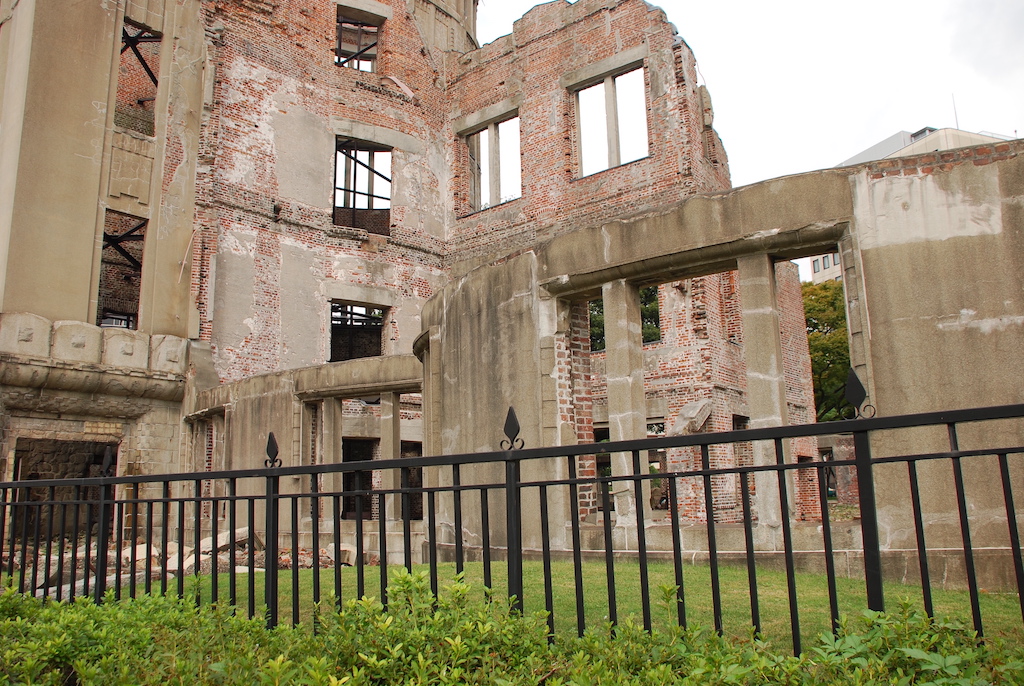
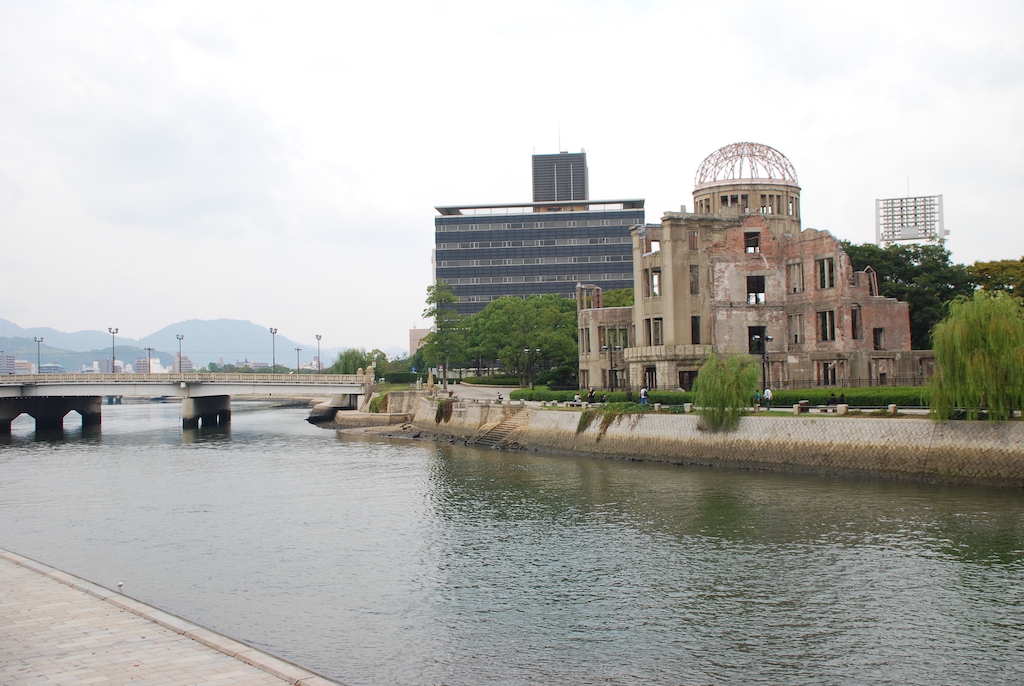
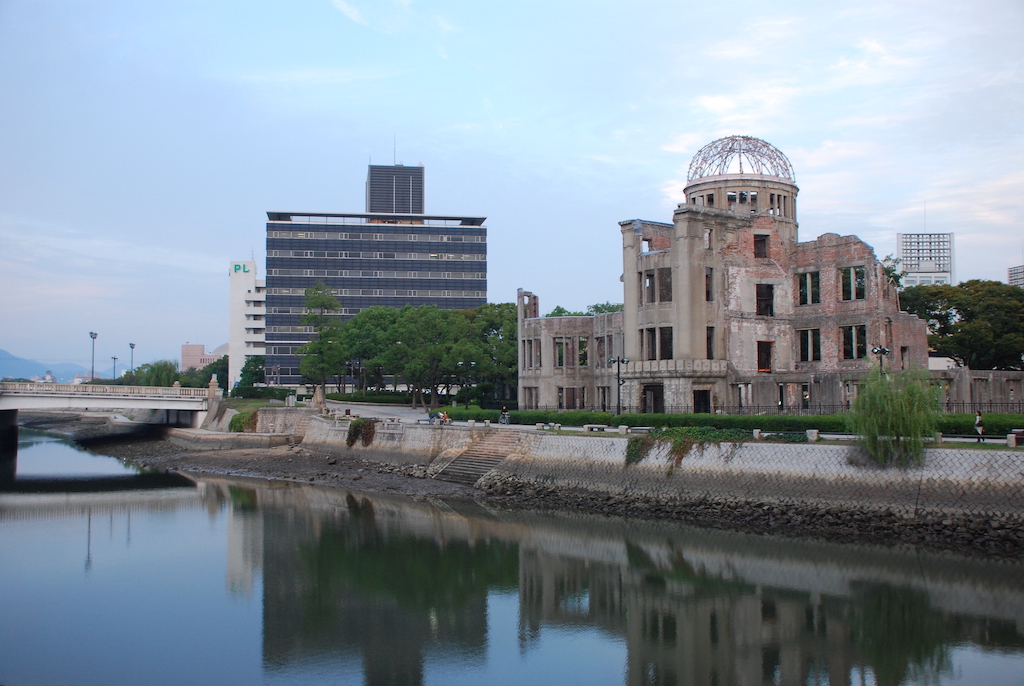
The A-Bomb dome used to be the Hiroshima Prefectural Products Exhibition Hall. With the hypocenter being only about 150 meters away, the bomb exploded almost directly above the building, and the basic structure of the building remained more or less intact as it did not have to endure the lateral forces of the blast wave. Though most of the other damaged buildings were demolished afterwards, this building, now known as the A-Bomb dome was preserved as a memorial.
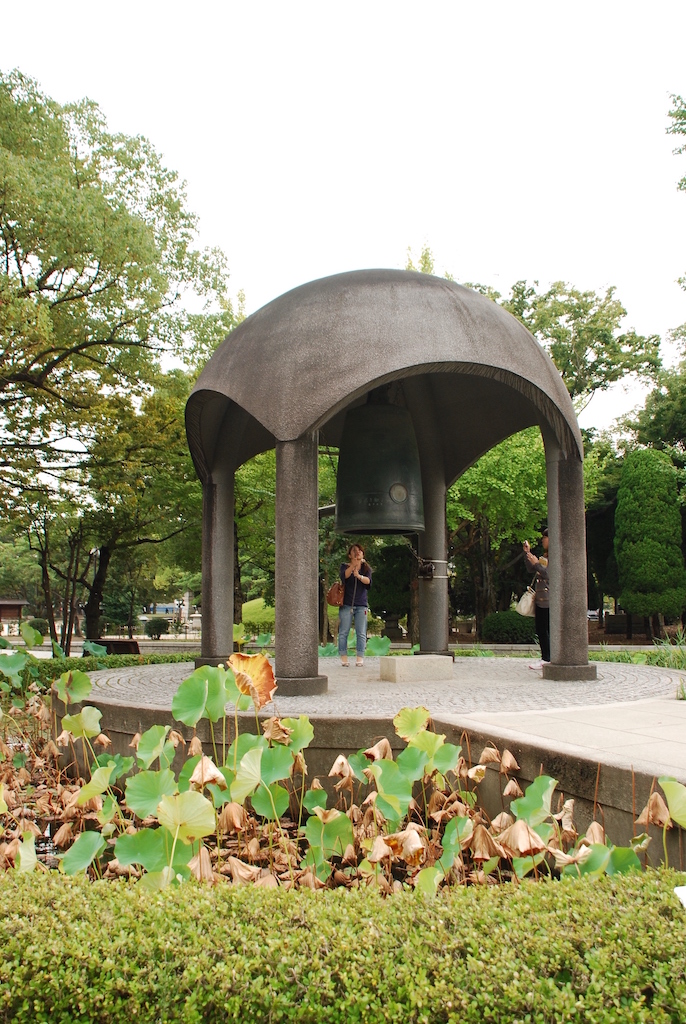
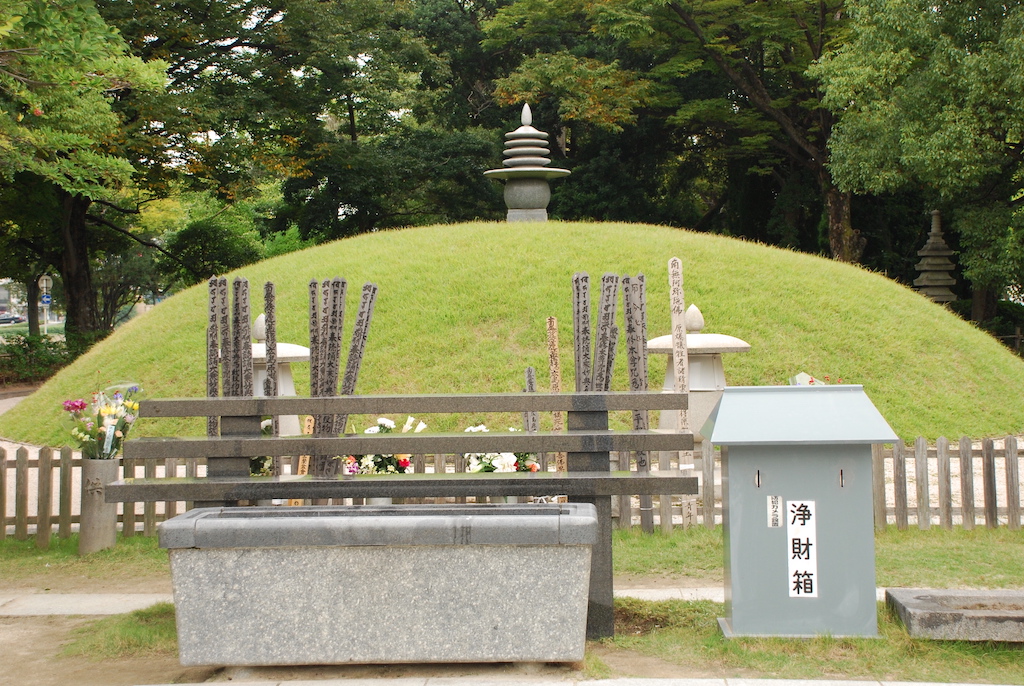
Once you’re done with the dome, you can cross over the river to the other side where most of the Peace Memorial Park is. Here you have quite a few things to see like the Bell of Peace and the Memorial Mound. Plus you have a view of the dome from a different perspective, from across the river. Every time I looked at the dome, it gave me goosebumps!
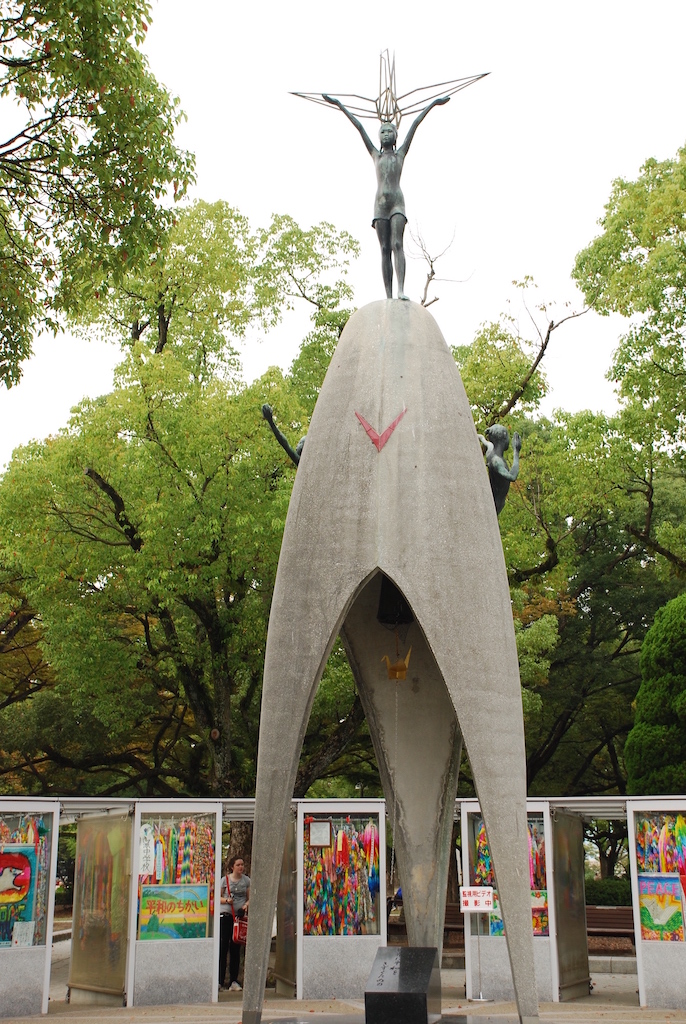
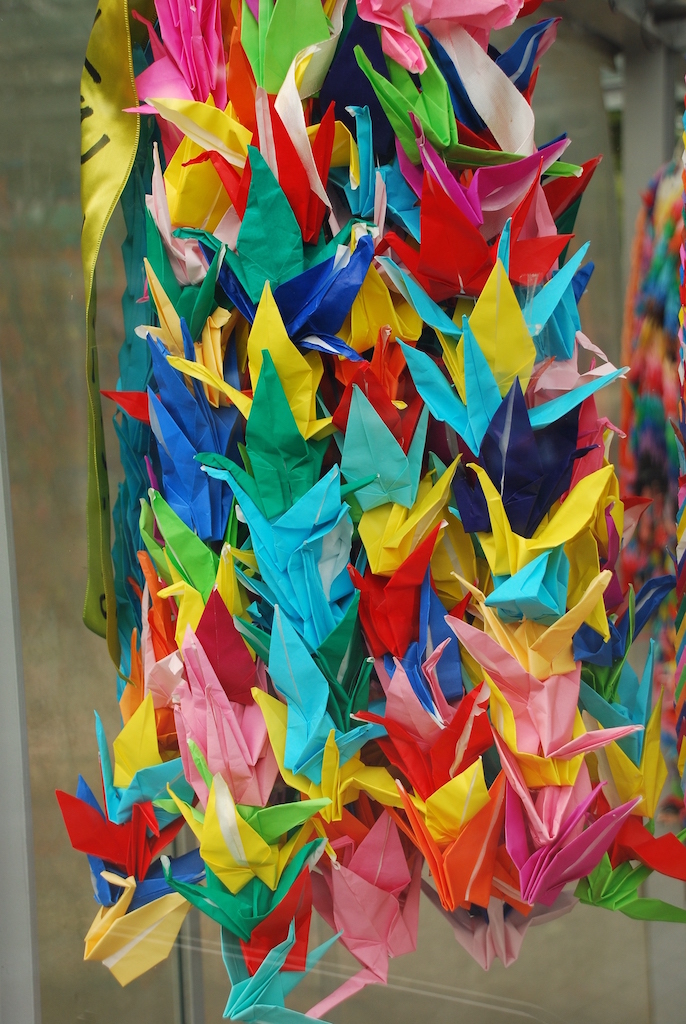
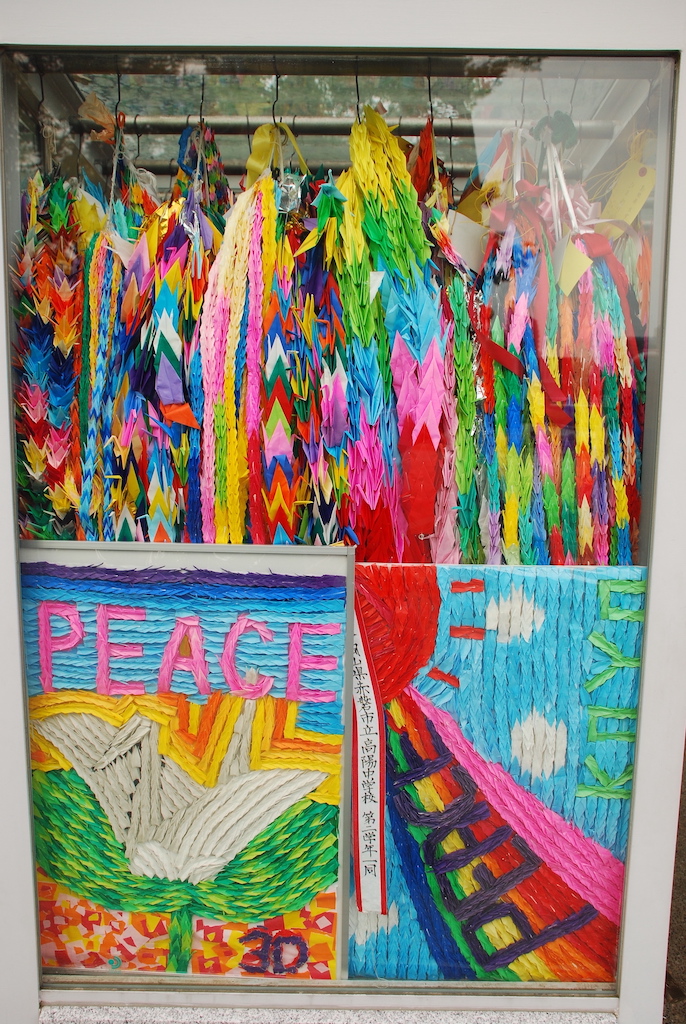
As you head south towards the Peace Memorial Museum, you will come across the Children’s Peace Memorial. It’s just a simple memorial structure but what will catch your eye are the hundreds of origami (folded paper) cranes contributed by school children. The memorial is dedicated to Sadako Sasaki, a girl who survived the explosion at the age of two, only to succumb to radiation caused leukemia ten years later. The origami cranes are related to a Japanese belief that one who folds a thousand cranes will be granted a wish. Sadako started folding them in the hospital during her last days. There are conflicting stories of whether or not she achieved her goal, but children still continue to fold them in her memory.

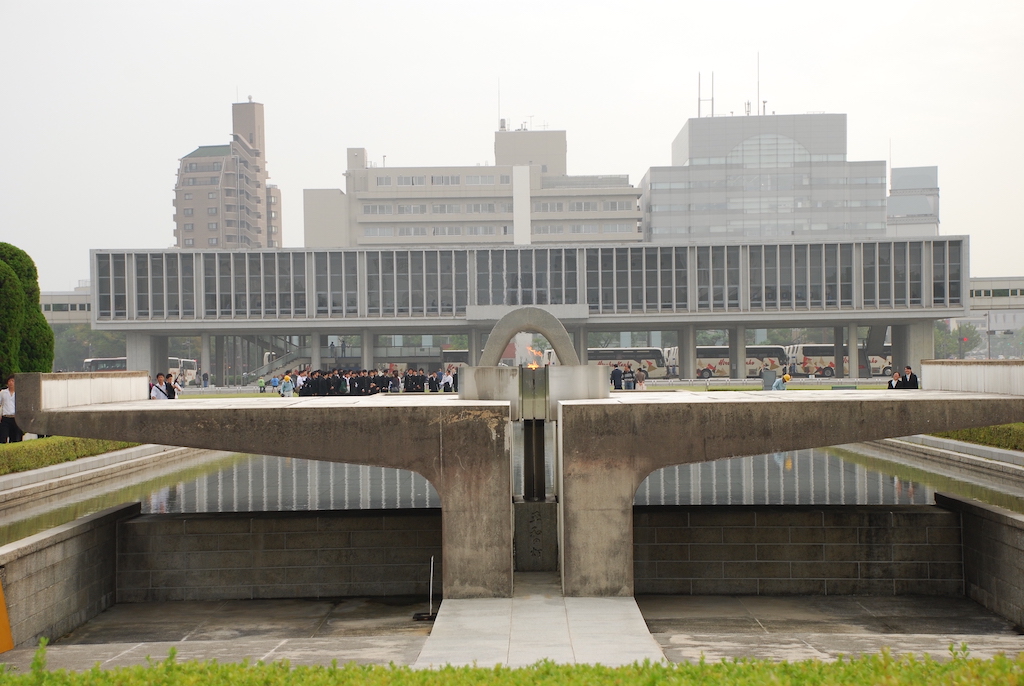
As you make your way to the museum, you will come across the cenotaph for the bomb victims and the Flame of Peace – a symbolic flame that has been burning continuously since 1964 and will not be extinguished until the planet is free from all nuclear weapons.
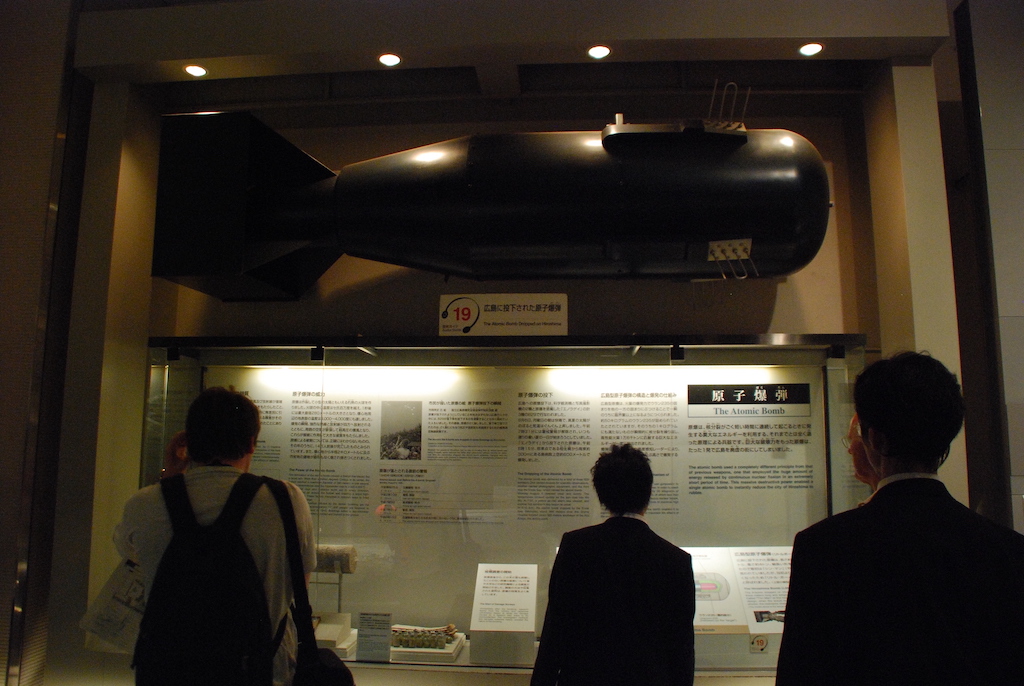
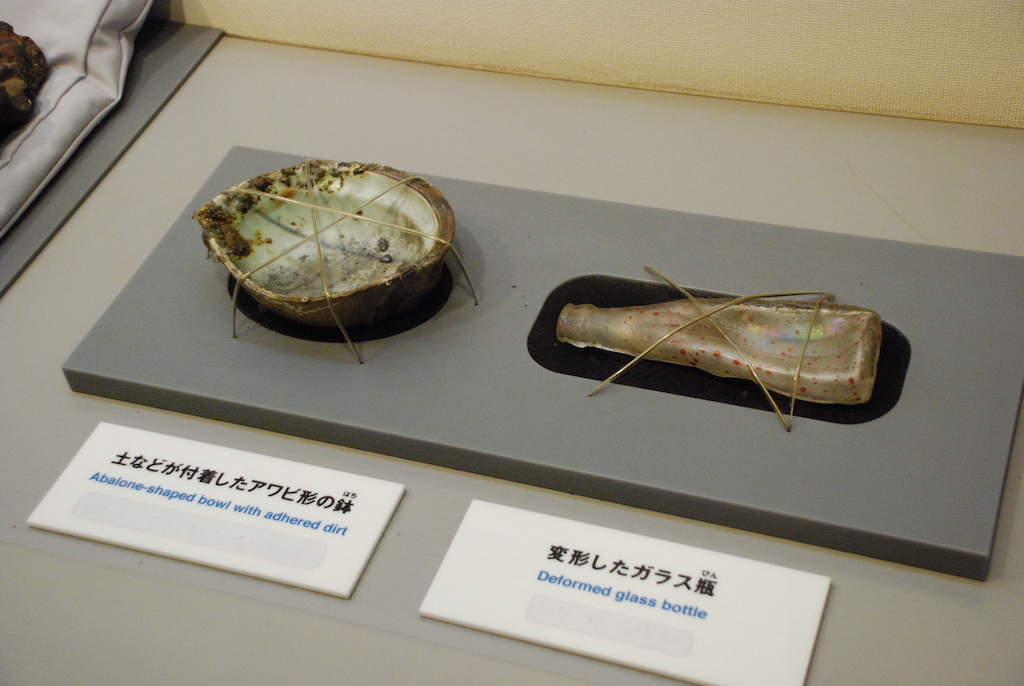
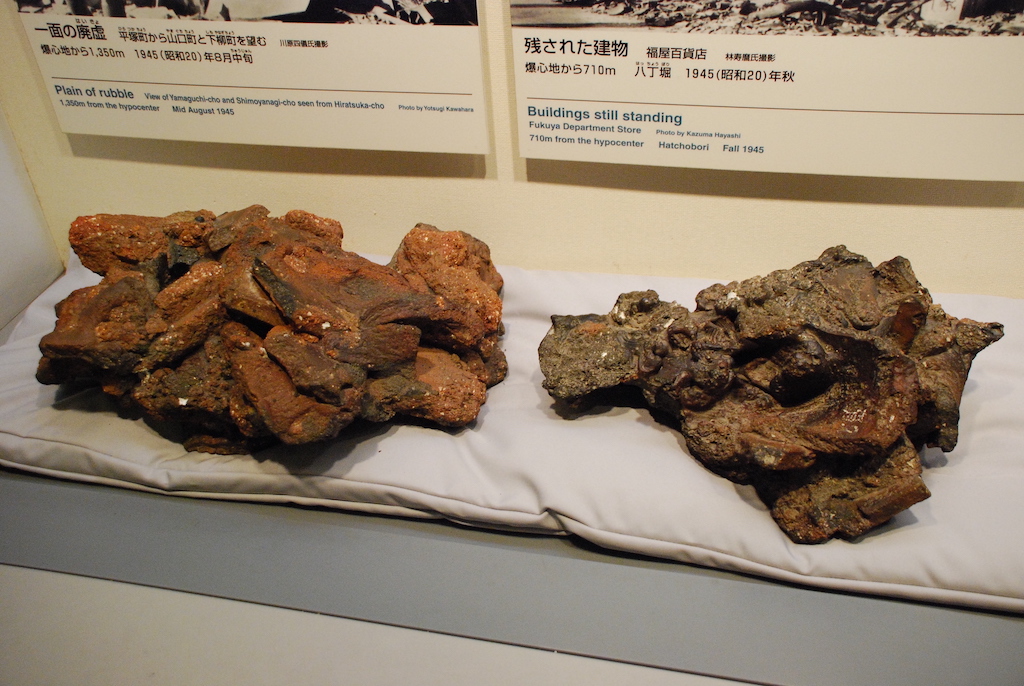
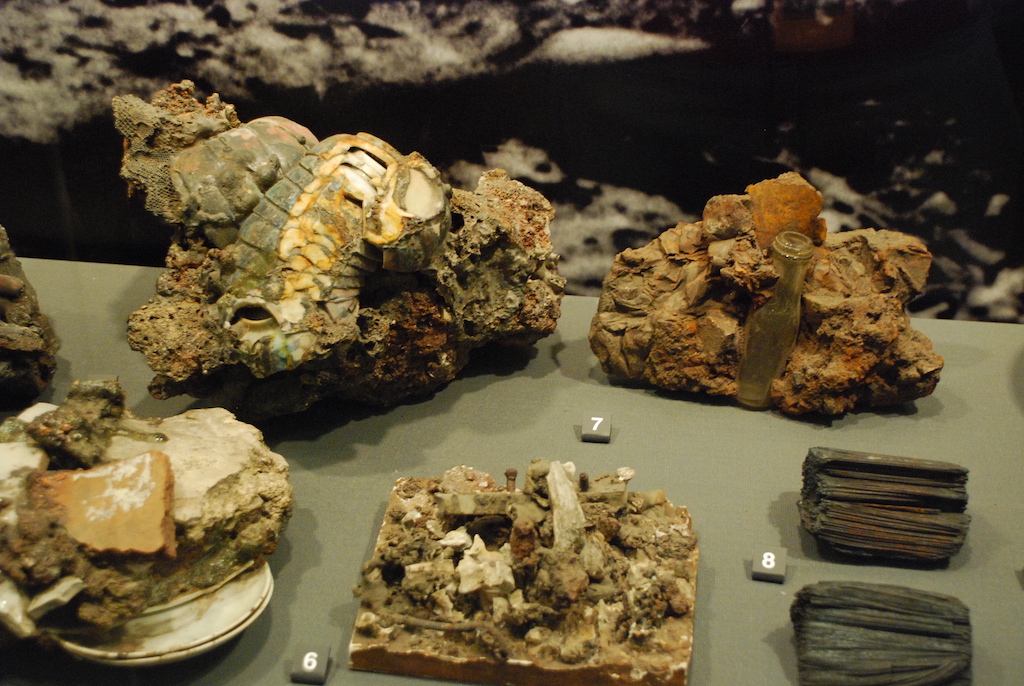
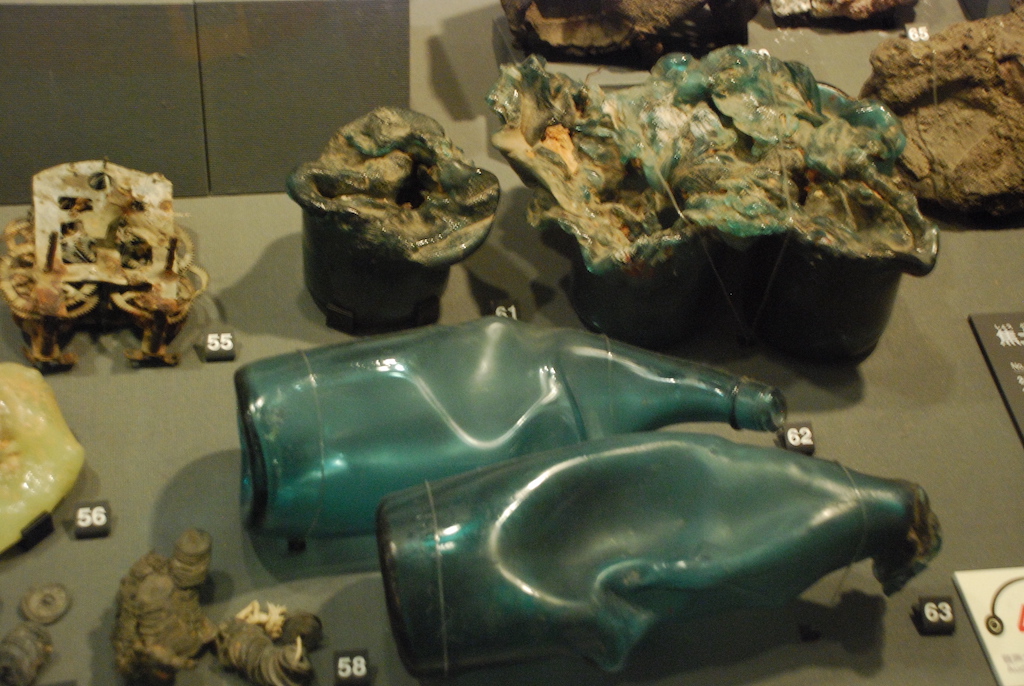
The museum has a very modest entrance fee of ¥50, but you can also rent an audio guide device for ¥300. It’s a small device with a keypad and headphones. Most exhibits have a number labelled on them and you can listen to an audio clip explaining the exhibit and the history associated with it by keying in the number on the keypad. If I remember correctly, they are available in several languages.
The museum visit can be a bit overwhelming for some people. As you browse through the exhibits and read about the victims, you tend to associate with them and feel their suffering. It’s like a time machine that takes you back to August 6, 1945. There is nothing too graphic among the exhibits, so even if you are feeling squeamish about going in, I would highly recommend not missing the museum.

After spending little over an hour in the museum, I didn’t have much time left as I had to make my way to Miyajimaguchi in the outskirts of Hiroshima where I had booked a backpackers’ place for the night. If you decide to stay at Hiroshima itself, you will surely have more time to check out some of the other attractions in the area and explore the city in the evening. But the Peace Memorial Park was the prime objective of my visit to Hiroshima and I was quite satisfied with the few hours I got to explore it.
The park authorities provide free WiFi across the park. So before leaving, I spent some time in the park to check my mails, social networks, and make a few Skype calls back home.
From the park I again took a streetcar back to Hiroshima station and took a suburban train to Miyajimaguchi. As I had the JR Pass, this was the economical way for me and reasonably convenient too. I didn’t really have any idea on which train to take and the sign boards didn’t help much either, but I asked a JR official at the station and he was able to point me to a train. Of course, these are all local area trains, so you just hop on them by showing the JR Pass without having to worry about buying tickets first. If you don’t have a JR Pass, you can take the #2 streetcar to Miyajimaguchi from the Peace Park.
The stations for both the JR trains and the streetcars are close to the Miyajimaguchi ferry dock. The hostel where I stayed – Backpackers Miyajima, is only a short walk away. But I made the mistake of not bringing a map, and Backpackers Miyajima being just a small place, I couldn’t find it at first. But I did have a copy of the reservation confirmation from them which had their name printed on it in Japanese. I showed it to a person on the street and he was able to show me which way to go. Keep in mind that after dark, Miyajimaguchi streets are not very well lit and there are very few people around. So it can get a little disconcerting if you are not used to it, but there is nothing to fear.
That’s it for the first part. In the next part I will cover the next day’s trip to the island of Miyajima and the spectacular Itsukushima Shrine.
I’ll leave you with a video I made for this day.